Showing posts with label motorcycles. Show all posts

Monday, January 16, 2017

Ironhead Ice Racer


Went to see ice racing on Cedar Lake last weekend. Not much too report except I got out of the house and saw motorcycles. Most of the classes ran no screws so not very exciting for spectating. The sidecars could only run screws on the front. And there were only three. The main class with ice screws were cool to watch but we couldn't get very close. This iron head was pretty cool. The old man had a chance to chat with him but as usual I showed up late. When I took these pics he wasn't around. Cool scoot none the less.

Tuesday, March 29, 2016

Progress - seat


Until 1970 you could get a nice big solo saddle with springs inside the frame as an option. By all accounts it is the most comfortable saddle on a motorcycle ever. I'm sticking with my little Bates copy but using the factory spring setup. Well, my version of it. The post kits with the springs are over $200. Since I'm using a different seat, I have the ability to make most of the parts, and I'm cheap. 
XLH models had the coil mounted on this bracket. This a similar bracket held the seat posts in place. You can sort of see the bronze bushings I turned under it. Below the bushings are a bunch of die springs I borrowed from work to use until I figure out specifically what I need. 
I only got part of one post done but the seat position is right on. I can actually clear the carb with my knee now. The foot pegs need to do about an 8" retreat but that's appropriate for an XLR and I prefer my feet directly under my ass anyway. My fork brace came in today as well. 
It'll be a little work to mount it but I like the look and these forks are pretty spindly so they can use the added stiffening.

Tuesday, March 22, 2016

BAR MOUNT

The stock bar mount for my Sportster was for a two-piece bar. Separate lefts and rights.
Left side has timing advance, right has throttle. Both internal. The mount is cast steel and in only bored in from each end just long enough to grip the spline on the end of the bars. For using a one piece bar you need to get post 74 parts. Or get creative.

I cut a chunk of handlebar and chucked it in the lathe. Clamped the bar mount on it, tweaked the other end around until both ends were as concentric as possible. Bore up to roughly center to match old bore. The old bore was a little big, that's why the ends aren't quite cleaned up.After boring to center flip it around on the chunk of handlebar and reset it. Bore to meet the other bore you just finished. Fingers crossed the bores meet in the middle. 

 
I made a quick fixture to hold the part in the vise. Just a chunk of aluminum that I drilled two holes in. As ugly as that block of aluminum is, it was flat and parallel within .002". I turned, drilled and tapped a couple bosses for the new bolts. Clamped the part up and scalloped the bar mount mirroring the hole location centerlines of the opposing bolts.
The Chief welded them up. Thanks Pops.
I cut the new split. 
That'll work.

After deburring I blasted it and test fit it. I'm quite happy with how this looks. It's got the same style as the original and I can use whatever bar I want. I tried to paint it but used a ten year old can of paint and it worked about as well as tossing some house paint through a box fan. Needless to say I'll need to blast it again and repaint but the fab work is done on this piece. Now to get that steering damper adapted to this bike (it's not HD but it was free). 

Tuesday, March 15, 2016

I'll refrain from using a vulgar post title...this time.

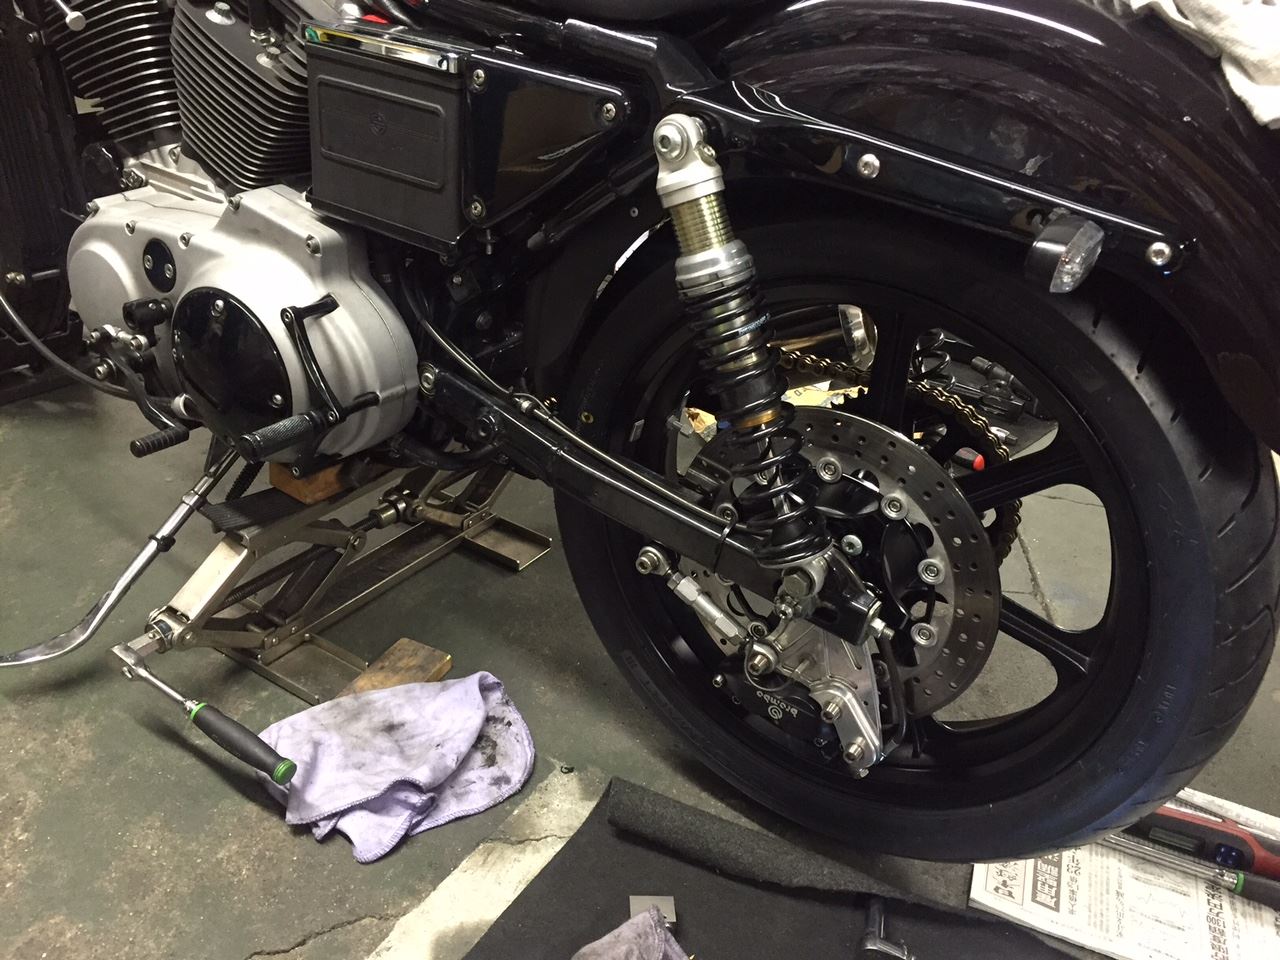
The last time I was at my local junkyard, these crappy little scissor jacks were everywhere. Holding up cars, laying in the mud. I would guess they have to be darn near free. That local junkyard is now empty and shut down but there are others. I was checking out this picture over at El Corra Motors for the groovy bike details: rearsets, Brembos, etc… and I spied the creative use of the ubiquitous crappy scissor jack. If One had a supply of these and some scrap and a welder a pretty handy bike lift could be made. Modify to taste. On the cheap.
The one in the picture looks to be all stainless and perhaps store-bought. We’ll ignore that.

I love this idea.


One could probably get away with just using one depending on the size of the donor jack. This pic may be from Japan and they have a lot of very small cars so that may be why they have two. Roll it up on the stand, slide in the jack crank her up. I will probably be making one of these. 

Monday, September 14, 2015

The rest of the bike


My dad posted a partial pic of this bike and said he'd like to see the entire bike. Well...here it is. The photographer is Jean-Francois Muguet. There are a few more pics of this amazing motorcycle, as well as, a few other Hondas here. JFM's website is here. Very nice work Monsieur Muguet.

Wednesday, May 27, 2015

Continuing ruminations on the BSA redesign

I'm at a loss for words at the moment. No reason save for the fact that I've been steeped in numbers lately. Anyway, pictures of nice Oil-In-Frame British motorcycles. Three BSA's and a Triumph.
I don't know if the Triumph pieces all work together or not. But then again it's a lovely motorcycle and I keep going back to it. I like it. The BSA on the bottom has some nice bits but the seat doesn't work on that bike. They've got their peanut butter and chocolate all mixed up. Needs a Rocket Gold Star seat.  I'm still working on the design of our sidecover.


From Britcycle.com


Tumblr Neo-Hippie


Lost the link


From here


Friday, April 24, 2015

Thinking Beesas again


I've been working on the BSA sidecover project again. I ran across this treatment this morning at Pipeburn. Obviously not a BSA but the frames are essentially the same from this period. It certainly wouldn't compliment the aesthetic we're shooting for but an interesting method nonetheless. Hose management is interesting as well.


I'm a little further along than this photo shows but my progress is slow. I actually made a paper mockup the other day that looks promising. Given the time I may make another based on a different idea. After that, I'm not sure. I may make one from foam with which the Chief can work or I might bang one out of some aluminum flashing I have just to see how it will look.

Friday, December 05, 2014

BSA Design repair PT.2

O.K., so the Ducati side covers are decidedly sexy. On to the tanks. No, we're not making a new tank. Ain't nobody got time for dat. The first pic in my last post is of our BSA before Unk bought it. I think. Generally speaking, our bike still looks just like that but the tank has a couple leaks so he bought another tank. I don't know what they are called in BSA speak but it's bigger and ostensibly does not leak. I like em both. Now since we are still comparing British to Italian, let's leave Bologna and take a trip a couple hours North and West to the shores of Lake Como. No, not to see George Clooney but to the Moto Guzzi factory and peek in on what Leno Tonti and his boys have cooked up for early seventies motorcycle styles.
Oh. Mye. Gawd.
Pic from Here
Pic from BikeEXIF
These two make me drool. It's no secret I like green but we need to focus. Tank shape. It's got a little dip down and in right behind the cylinder head. Very nice lines. Plenty of fuel. The triangular bump on the V7 cover flows nicely with the tank as does the newer panel on the 1000 in the second Guzzi photo.

Here it is in it's current state in front of a slightly newer 650 twin. Not the greatest photo of the overall bike but it shows the shape of the tank nicely. Bump out, comes back in and up behind the cylinder head. Same deal but less aggressive than the Guzzi. More British. Why am I bringing up the tank? Two reasons. A) the side panels we are trying to fix do not match either of these tanks, stylistically. B) The seat. Wait, what about the seat? Not unlike The Dude's rug, it really ties the room bike together. Have I lost you yet? Well, I have failed to mention that if we fix the side covers that ridiculous tail lamp housing is going to be the new weak link aesthetically speaking. This is all strictly my opinion, by the way. So since we're going to have the shot bag and teardrop hammer out anyway, might as well do something about that tail end. But, I'm getting ahead of myself.
So the Ducati GT sidecovers have a good look and you can see how they'd fit right on the Moto Guzzi V7 Sport. All of these bikes have a similar enough profile and our big BSA tank is the nerdy cousin of the Guzzi tank.  All that tells me I'm on the right track. I think the paint color and design (if any) will have a bit to do with this also. The frame on our bike is grey. My understanding is the bikes came this way and the Americans did not like the color. Many dealers were repainting the frames black so they could sell the bikes. I think it's ugly but with the factory two tone paint they made it work. Ironically, the two tone paint also hid the nice line just along the bottom of the tank and made it look a little more like a slab than it really was. Grey stays. That weird ass magenta color on our tank? Yeah, not my cuppa tea. Unk didn't like the kind of green I did so I'll put that one in my pocket. Dad mentioned in one of his posts that the GT panels bump out and he would prefer more of an innie, as it were. I think I agree but I'm not sure that we could do something like the 750 Sport/900 SS covers without making them look like an exact knock-off. 
From Here
The outside shape is right on. The BSA covers have to contend with the giant oil bearing backbone however and oh, did I mention it's also an airbox? We can deal with all that. The point is they have to look better and function as well. I have no doubts about function, airbox or no. Looking better is the challenge. Many have tried...few have succeeded.
Here
Nice bike, side covers courtesy of Campbell's Soup. 

From Shop Teacher Bob's blog
Pretty good attempt here. The side covers are better than stock and I'll leave it at that. 

No idea where this one came from. 
Number plates are always an easy out, but we're not going flat track with this one. That's funny, this one...like we build bikes all the time. 

BikeEXIF again
If you are into skinny jeans, have a handlebar mustache, and an axe that you don't know what to do with, you can go this route. (Actually I like this bike, just don't tell anyone.) Look how nice the line along the bottom of the tank appears in this picture. Why did they hide that? I'll go back to my sketches and keep thinking on it. More to come.


BSA design repair PT. 1

I could drag this one out forever but I'm short on time. My father and I co-own Grumpy Unk's 1971 BSA Lighting 650. Unk hated the sidecovers and I agreed to help design some new ones that Dad would build. I think we're moving forward with that. I'm not a fan of the sidecovers myself and my favorite thing in the world to do (well, perhaps...third favorite) is design stuff. I'm not going to pretend I'm a better designer than say Fabio Taglioni or Leno Tonti but perhaps we can do better than Nigel Ramsbottom or whomever that came up with these three piece, steel and zinc die cast afterthoughts slapped on the side of the newly (at the time) redesigned A65 line.
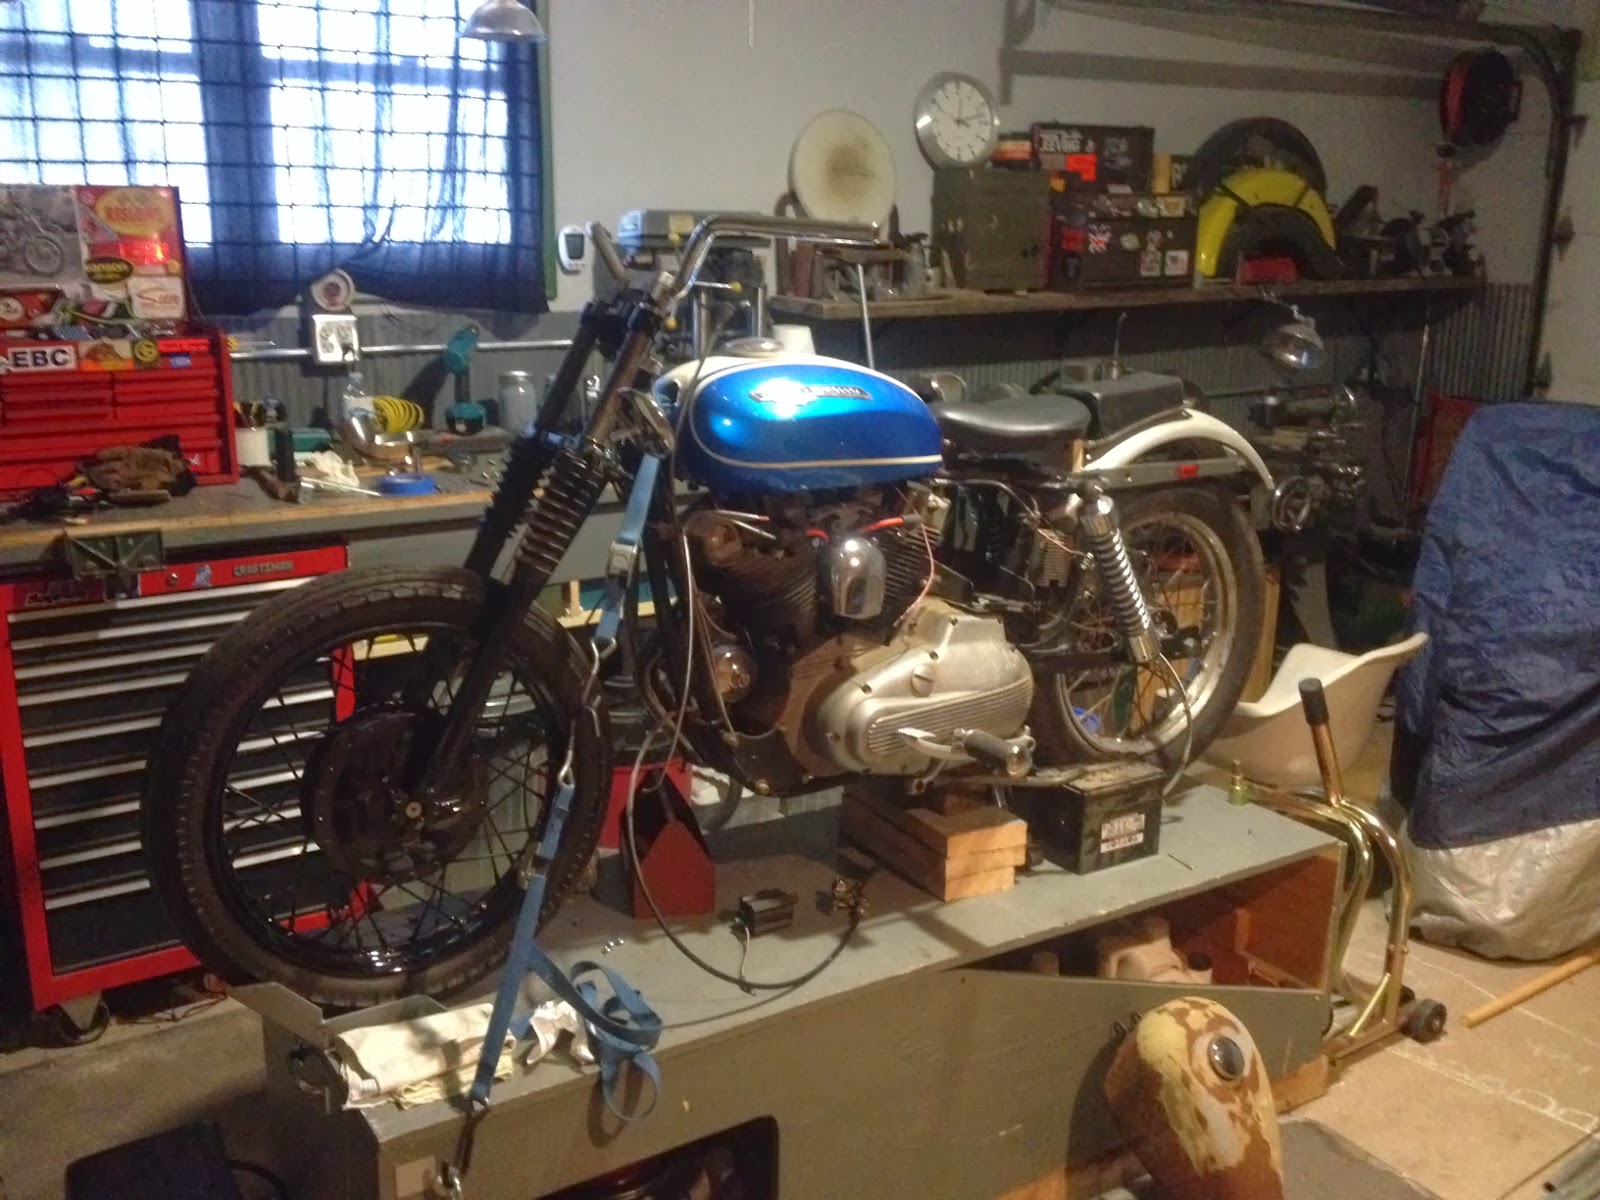
The Bike in question. It's not that dark in person.
Okay, they're not that bad. I had one of these for a while and I've always liked the way they look bone stock. I do feel the looks could be improved a bit and in the spirit Hippocrates, I look first to do no harm. We won't do anything that can't be undone with some wrenches.

No idea where I got this one, no copyright infringement intended. 

Body by Fabio
No idea where I got this one, no copyright infringement intended.
Speaking of Fabio Taglioni. My guess is this is no chicken and egg deal here. The Brits needed cash to keep all of motorcycling alive in 1971. Down there in Italy they were building these beauties. I doubt the Italians were sending spies up to the land of blancmange to find out how to make a motorcycle look sexy. To play devil's advocate, I would think most folks would take the Ducati over the BSA any day of the week. Opinions vary but if you squint a little, the aesthetics are very similar. So what could we do to fix the slap-dash styling of the BSA? Hmmmm....we could steal those side covers. I'm speaking stylistically, of course. If I was a designer worth my salt I'd Photoshop those babies right on there. But that's not an option at the moment. Moving on. 

Holy crap that's cool.
No idea where I got this one, no copyright infringement intended. 
While we're squinting, if the PO of Unk's bike had just dumped a big-assed handful of metal flake in that baby blue paint, we'd have something like this. You know...sort of.


Wednesday, July 30, 2014

I'm thinking Iowa

I was planning on doing a few trips this year on the VFR. Well, Vintage Days at Mid-Ohio came and went as did the Wauseon swap. I'm hoping I might be able to make it out to Iowa for the Chief Blackhawk Swap in Davenport. If I do it right I could shoot on over to Des Moines to Kung Fu Tap and Taco for lunch and buy a t-shirt, head back toward Animosa to see the National Motorcycle Museum and maybe make it back to Davenport to set up camp for the Swap on Sat. Maybe on the way back home I could stop and say hello to Bix Beiderbecke. I won't be making the Bix Festival, however. Another time, perhaps?

Click to buy the shirt.
I'm not buying one unless I ride there. It's the principle of the thing. 
DesMoines is a long extra leg for a taco and a t-shirt but it's on my list. Seems like a good enough reason to me. I'm mostly joking about the Bix stuff and I'm sure most everyone reading this that is not in my family will have to Google it to even know what I'm talking about. Not that that's any different from any other post.
Why the Kung Fu Tap & Taco? First, every night is bike night. Second...well, it's called Kung Fu Tap & Taco, and C) Maybe I'll run into Jeff Wright and we could talk photography and motorcycles. He builds some interesting shit. Case in point...
©Jeff Wright - Used without permission.Click to see the build site.
This reminds  me of something my dad would build under the right circumstances. I can't wait to see it when it's done. I don't know the exact connection between FTWCO, Church of Choppers, and KFT&T but it doesn't really matter. I'm digging what they are doing.
I've ridden the VFR to work 13 days this month. Good stuff. I love that bike. I've got wanderlust and I need to get my knees in the breeze and see some...Iowa.

Monday, July 14, 2014

TT Tea


Guy Martin enjoying a cuppa while waiting for the support lorry. Pic from Twitter...I can't recall where. Nor could I find it by searching. I'm a big fan of Guy.

Saturday, April 19, 2014

SU - Skinner's Union

I'm sure pine is an appropriate choice for a carb spacer. I just hope the varnish doesn't catch fire. Man this thing is huge but I'm kind of digging it. More later.

Friday, March 28, 2014

Bike Stands - Last One

So after doing a little research and discussing my particular stand I've come a conclusion. If I were to recommend a stand design to a friend I'd go with some 4 x 4's and plywood.
Photo by Jeff Wright click for link to Church of Choppers
These appear to be 4 x 6's which are even better, but you get the idea. Google motorcycle stand and you find a million different answers. Red left a comment about building a stand that lifts with a jack. I've seen plans around for those as well. When it comes to design I find the most simple solution to usually be the best. That said, most times there is a trade-off. Submarines do pretty well under water but they are tough to park at Wal-Mart. Uh, yeah...where was I going with this? Oh, yeah. If you build the simple platform like above you'll need a ramp and a friend. Like I said before, if you own a bike - you have a ramp. But if you have some behemoth bike like an Ultra Classic or even my VFR it might be safer to have a lift. If you live in the middle of nowhere and don't have anyone to help you push the bike up, a lift might be your option. Or maybe you are 6' 3" and 160#'s. In that case you'd want the scoot way up high and that would be difficult to balance even with your buddy on the other side. There are plenty of companies selling lifts of all different styles. Of course, Harbor Freight sells a cheap steel lift if you want to support the Chinese prisoners making twelve cents a day building them.
Oh, I found a wheel stop at my local dealer on the shelf and it was eighty fucking dollars! A wheel stop is a good idea. Eighty bucks for a piece of bent tubing is highway robbery. Go to the local weld shop and have them make you one for half that.

This is the original drawing I based mine on. Taken from Eurospares

Here's another one from Uncle Sam. The Armored Force School Fort Knox,Kentucky - Lubrication and Inspection Guide-Motorcycle Department,1943. Just in case you want to lube your WLA. I can find pictures of this but not all in one place. I don't know how well it works but I think it would work better than the one I built as far as the tilting feature. Mine doesn't have enough support when unloading. 


So here's my bottom line on bike stands: 
1) Use the info here at your own risk. I'm just a dullard on the internet with a free blog. I've only built one and if you build it just like mine, it's dangerous when using the tilt feature. So don't bother with the tilt feature. 
2) Simple is better.
3) The height of the stand should suit you and the bike(s) you will be working on. 
4) Forget the paint. It just makes it slippery. 
5) If you build something out of wood - use wood glue, in addition to, your fasteners.
5) Be careful. Use a helper. Tie the bike down once it's up there. 
6) Wheel stop - you don't want to roll off the end, and make it wide enough for whatever tire you may have in there in the future. Mine's fine for vintage bikes with a 3.50 - 19 but I'm not sure the front on the Viffer will fit. 
O.K. I'm done on stands unless I build another one. That may happen but not until many other projects are finished. 
Rock on. 


Wednesday, March 12, 2014

Long way to go but I know where I'm going finally


I got the tank on Saturday. I started a remodel on my living room so all I could do was take it out of the box and plop it on the frame but I'm quite pleased. The tank has a lot of wear and tear but is very clean on the inside. The word patina is so overused these days but basically the condition of the tank is on par with the condition of the rest of the bike. The rear fender has been bead blasted to remove the paint (I did this years ago) but it will get a polish of some sort. Probably a little better than what Scotch-Brite will yield. It has a few dings and some pitting. I found that on an unknown chassis out in the woods somewhere about twenty years ago and have been saving it for just such a project. I was concerned about the p-pad being too tall but after tweaking the seat I think it's going to work fine. I've got a board propping it up presently. having the seat nice and high also lets me use the stock ignition switch location which happens to be under the seat. I don't want to change what I don't have to change, you know? I would not have considered painting this bike this color blue, by the way. I like blue but I was leaning toward green or black or a combo of the two. I like the blue very much. I've got some things to fab but not much to hold me up. The wiring is really going to be the big issue right now. With the changes I've made combined with some decisions of the previous owner it's going to pretty much be a complete rewire. I guess it will give me something to do since we had our obligatory March fucking blizzard this morning. I really hope that shit ends soon.
Rock on.

Tuesday, March 04, 2014

I'm diggin' it

Got my bars today. It's the exact bend I've been looking for. Very much like a BSA M-bend but just a little wider and one inch. Mocked up the alloy fender too. I like the way it looks but I need a different P-pad. Mounting will be a challenge but I like a challenge.
I need a different tank as this still looks choppery but I have a plan for that. I'm pretty fastener light in the shop so I need to make a list of hardware I need. Not real happy with the current bar mount situation but maybe with the proper bolts and some black paint it will be presentable. I can't feel my fingers, better go inside. Rock on.

Thursday, February 27, 2014

Because I simply cannot leave well enough alone

I'm changing the goal of the Sportster. I've never kept any motorcycle forever so with that in mind I want to pay special attention to how much money I spend the old girl. I'm notorious for never finishing projects as well. With that in mind, the number one goal with the Sportster is to a) actually make the thing rideable in my lifetime and b) when the time comes to sell, not take a bath on the whole deal. That part is not changing. What is changing is what the bike is going to look and or feel like when it is done. I was going to try to put the bike back together with most of the original parts and have a mostly stock Sportster. Well...now that I think of it that's not really changing either. Much. So I'm standing in the garage the other night staring at the XLH in question and contemplating what to do next. Then I start stressing on the amount of work involved and quite frankly considering my own mortality and how life is short. Without getting too philosophical the short story is, I turned off the light and went in the house.
So I ran across this picture on the Sideburn blog...

I love the mirror placement.

Light. Bulb. Man, this Triumph is fucking bitchin'. It looks like the kind of bike you can just get on and ride, you know? Not coast to coast. Not with luggage. I already have one of those anyhow. Just ride for the thrill of riding and if you run out of road fuck it, you're running on MT53's baby, just keep on motoring. So let's overthink analyze this for a moment, shall we? Mostly stock so not a lot of complicated shit to worry about. Check. Racebike feel. Check. (that's my wheelhouse). Not so refined that we need to worry about paint chips or some oil dripping. Check. A few custom touches to scratch the creative itch. Check. I have most of the parts already. Check. Fairly comfortable at least from a riding position standpoint. Sit up and beg. Check.
So I went home and pulled the tins off and did a few minutes of cleaning. I have a rear fender I think I can use. I'm pretty sure the Old Man has a fork brace laying around. I've got a seat. I've got alloy rims. I still need bars. I should have the fender in my hands by Monday. The next thing will be to make a subframe to hold up the fender and or the occasional spouse. Not that my spouse is occasional. It's just that the only passenger I will probably have will be my spouse and that will only happen on occasion. I think the digression has become my trademark. Anyway, I'm considering moving the shocks to a bit more vertical and having a loop up and over the fender. I will mock up something with conduit and see how it pans out. The only real stumbling block now is the tank. I think that's another post.
In between remodeling my house, working 60hrs a week, and being a father and husband I should have this knocked out by oh, let's say...2030. Give or take. I'm kidding but I really think this plan can actually expedite the project. Assuming the engine is mechanically sound.

Wednesday, January 22, 2014

Thinking pipes

Man it's cold here. 7 degrees as I write this. So since the holidays are over and we're getting into cabin fever season my little pea brain is drifting back to motorcycles. Specifically my Sportster. Like all my projects I have these delusions of grandeur about taking things to the extremes. That's probably why I rarely finish any of them. As I've said, this bike is an experiment. I need to prove to myself that I can buy a bike for a decent price, make it into what I want it to be, ride it and when the time comes to sell it not take a bath on the silly thing. The past model was overpay for junk, buy a bunch of expensive parts, sit on it all for a couple years, sell it for half what I've got in it. So far so good on this one. Mrs. Surly wasn't happy about taking the capital out of savings for the bike but the price was reasonable for all parties. I got some of the parts I needed in a trade so I'm only out a little shipping money. Other than that I paid for title work and some oil. I need handlebars next. The ones that were on the bike just did not fit me. The bike in it's old configuration would not fit someone 5'11" with monkey arms like mine. The way it's setup now with the flat bar is a pretty comfortable deal. The bar is pretty funky and the risers are...well, I'm not using those. I need to get a set up for the handlebars but that's another post.


This being an XLH, means it has the oil tank mounted off to the right to make room for the battery. The enormous battery. It's real close to the size of the one in my car. That's going to be an issue if I want to do anything with pipes. The ones that are on there fit fine. I could use them and the bike came with another set of staggered duals. The idea here is to be fairly close to stock with some custom touches. I'd like some interesting exhaust but I want to be careful not to get too carried away.
I'm not going with fishtails but I like these.

These are quite sexy too. I unfortunately do not know where this pic came from. 
With both of these styles there are issues with the timer (distributor) being in the way and with the top pic my oil tank would be in the way as well. I'm not changing the ignition around but I might think about going with a smaller battery and re-configuring the oil tank. Changing the oil tank wont be a big deal but the filter is in there and from there the project grows legs. That's where I have to check myself. The pipes will be custom built by me and the Old Man so I can work around what I've got but I don't want to have the whole bike be three feet wide from stacking up oil tanks, shocks, pipes, and the like. 
Of course, I have to keep the whole vision of what I want the finished bike to look like in mind. 
Rare and expensive originals
If I had the stock exhaust I'd run it and shut up but it's hard to come by and pretty pricey so I'll pass. I'm pretty much over worrying about what the blondes on the beach think anyhow. Apparently a guy on the XL forum (who seems to actually know what he's talking about) proved that the crossover tube adds a couple of horsepower just as the factory claimed. People just like the look of the staggered duals, I suppose. I'm getting old apparently because I don't want my bikes too loud anymore. Mostly because I leave the house early in the morning and I like to fly below the radar as far as my neighbors are concerned. 
Definitely a clearance issue with the timer if I went this route. 
Not sure who took the shot, bike built by Cheapskate Cycles

No denying these are freaking sweet. 

Might be on to something with these. We could probably squeeze all that in there. Not sure how they would work, performance-wise but at least there is some sort of muffler. And yes, I know it's not a Sportster. 
These are bad-ass but probably too much work to make it fit on the XLH.

Photo by Mark Kawakami Bike by Top Shelf Customs
More coolness here. Quite original flares on the ends of these. I'm sure we can make something work. It comes down to how much work we want to put in to achieve the overall look versus slapping on some drag pipes and moving on.